TUTORIAL STEPS
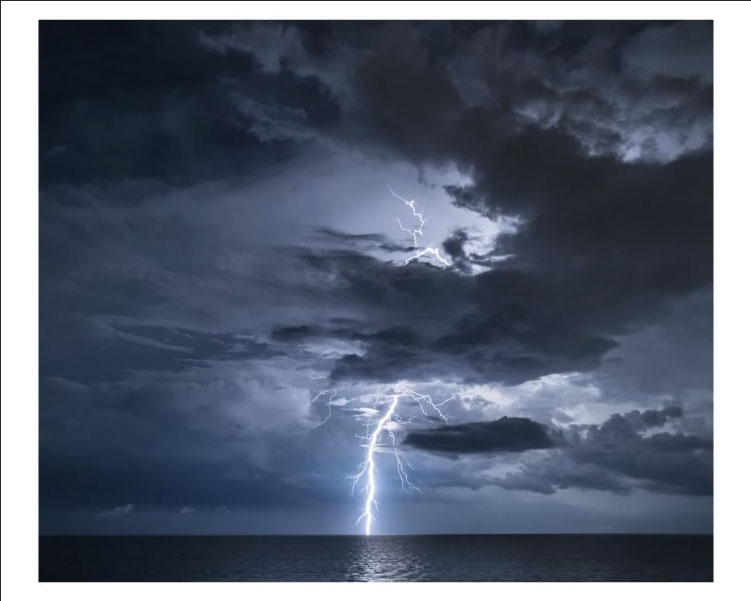
I have an image here that’s 15x18 and we want to fit it to a 16x20.
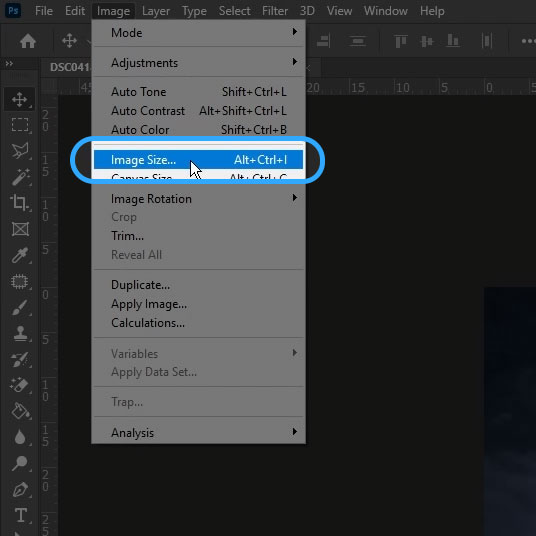
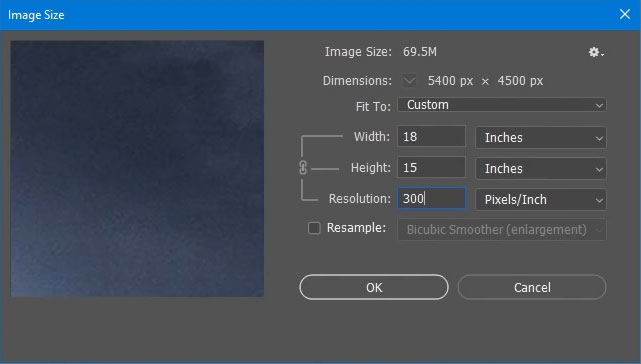
1 • First thing to do is go to “Image>Image Size” and make sure your image is the correct dimensions and the DPI is set to 300. Press OK once everything is confirmed.
2 • Then go to “Image>Canvas Size” and set the canvas to the standard paper size that’s larger than your image. In this example, I’m going to set it to 16x20 and leave the “Canvas Extension Color” set to white.
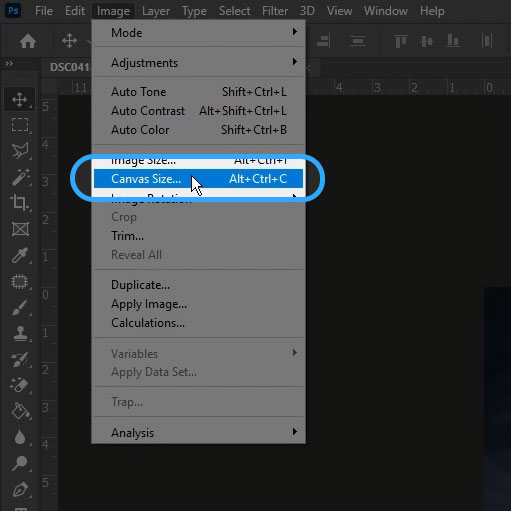
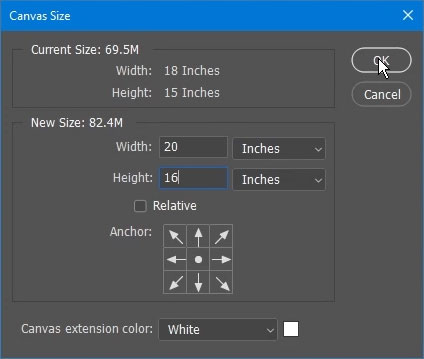
When you press okay, you will notice an uneven border around your image. That’s okay.
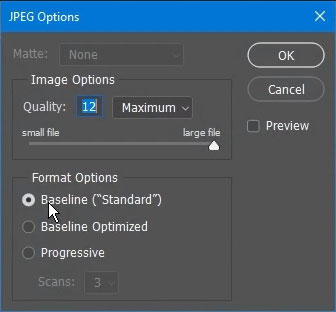
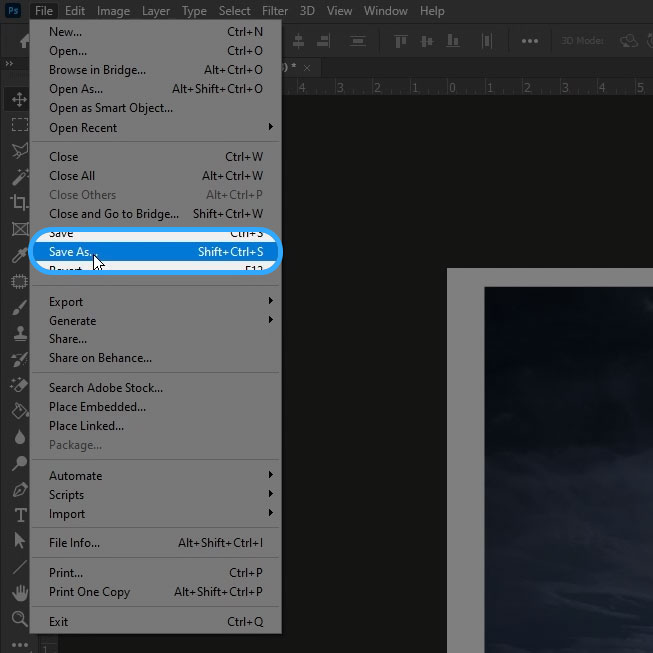
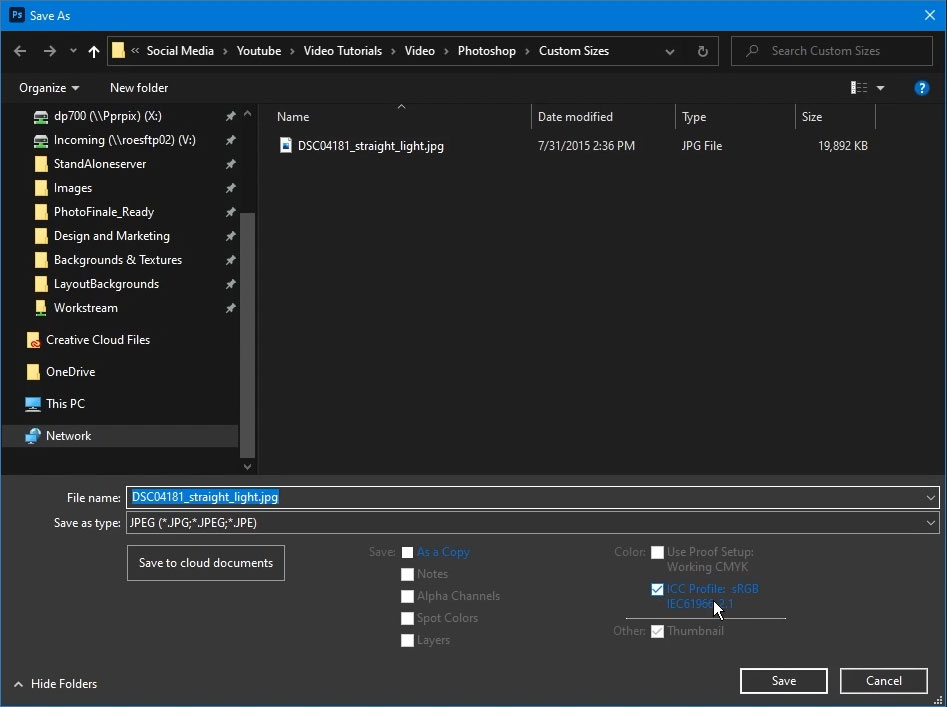
3 • Next, we’ll go to “File>Save As” and choose jpeg in the “Save as Type” drop down. Then make sure “ICC Profile sRGB…” is selected and press “Save”
In the popup, make sure “Baseline Standard” is selected and the fullest quality is set before pressing “okay”