INTRODUCTION
Hey everybody! This tutorial is all about mag tests! We're going to go over what a mag test is and its purpose. I'm also going to show you where to place a mag test order though our PPRpix ROES app and how to make your own using Photoshop CC.
While what I'm going to show you is fairly simple, this tutorial is intended for those that are already somewhat familiar with ROES and Photoshop. If you'd like to learn the basics of our PPRpix ROES software, you can check out some of our other tutorials that cover just that.
WHAT IS A MAG TEST?
So what is a mag test? Well in short, it’s a small magnification test print for a larger final print. A mag test is usually an 8x10 print that covers a small area of the full size image. Think of it like a puzzle piece that is part of the whole puzzle. Mag tests help give you a good idea of what the image will look like at a larger size and is commonly used to check the sharpness, resolution, and noise. Overall, you get to see how well the pixels spread out across the image.
MAG TEST VIA ROES
First, we'll start with our PPRpix ROES software since that's the easiest and fastest way to order Mag tests.
1 • After you launch the software, click Photo Prints, then Lustre.
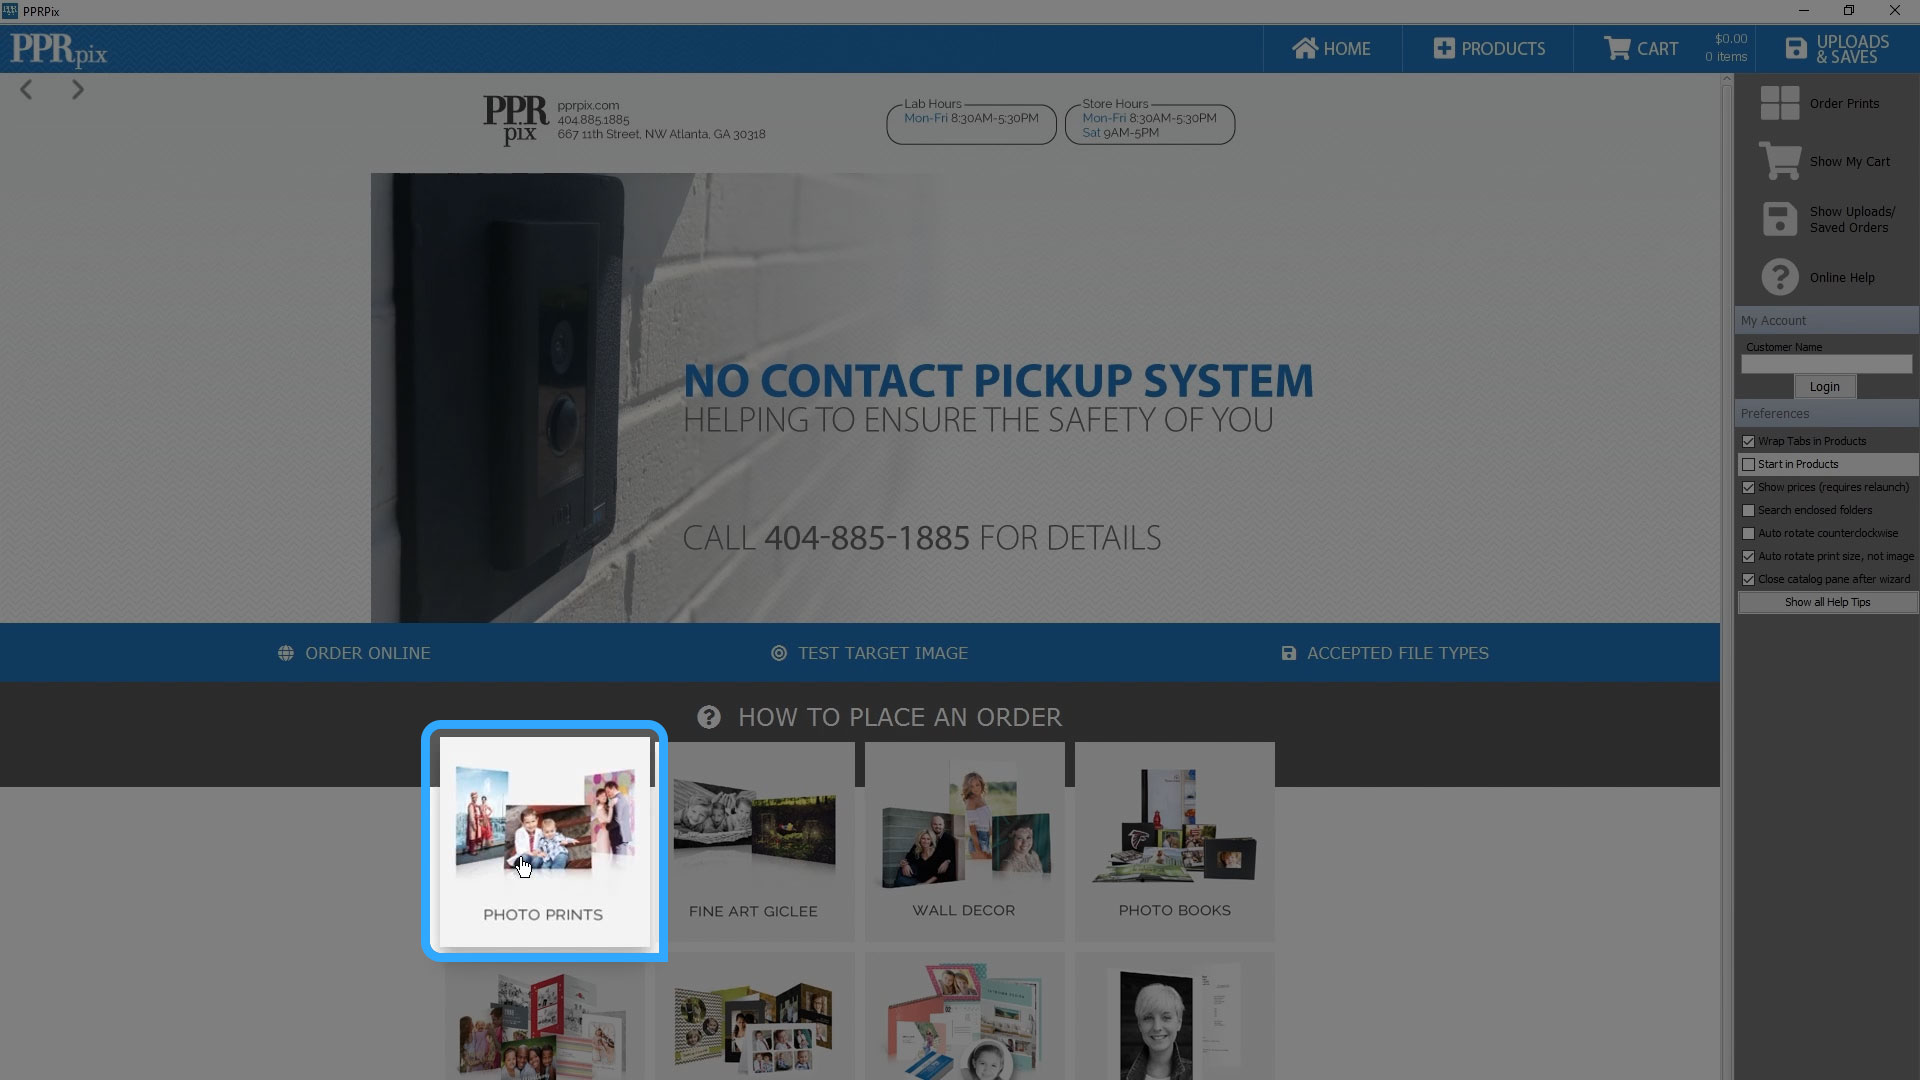
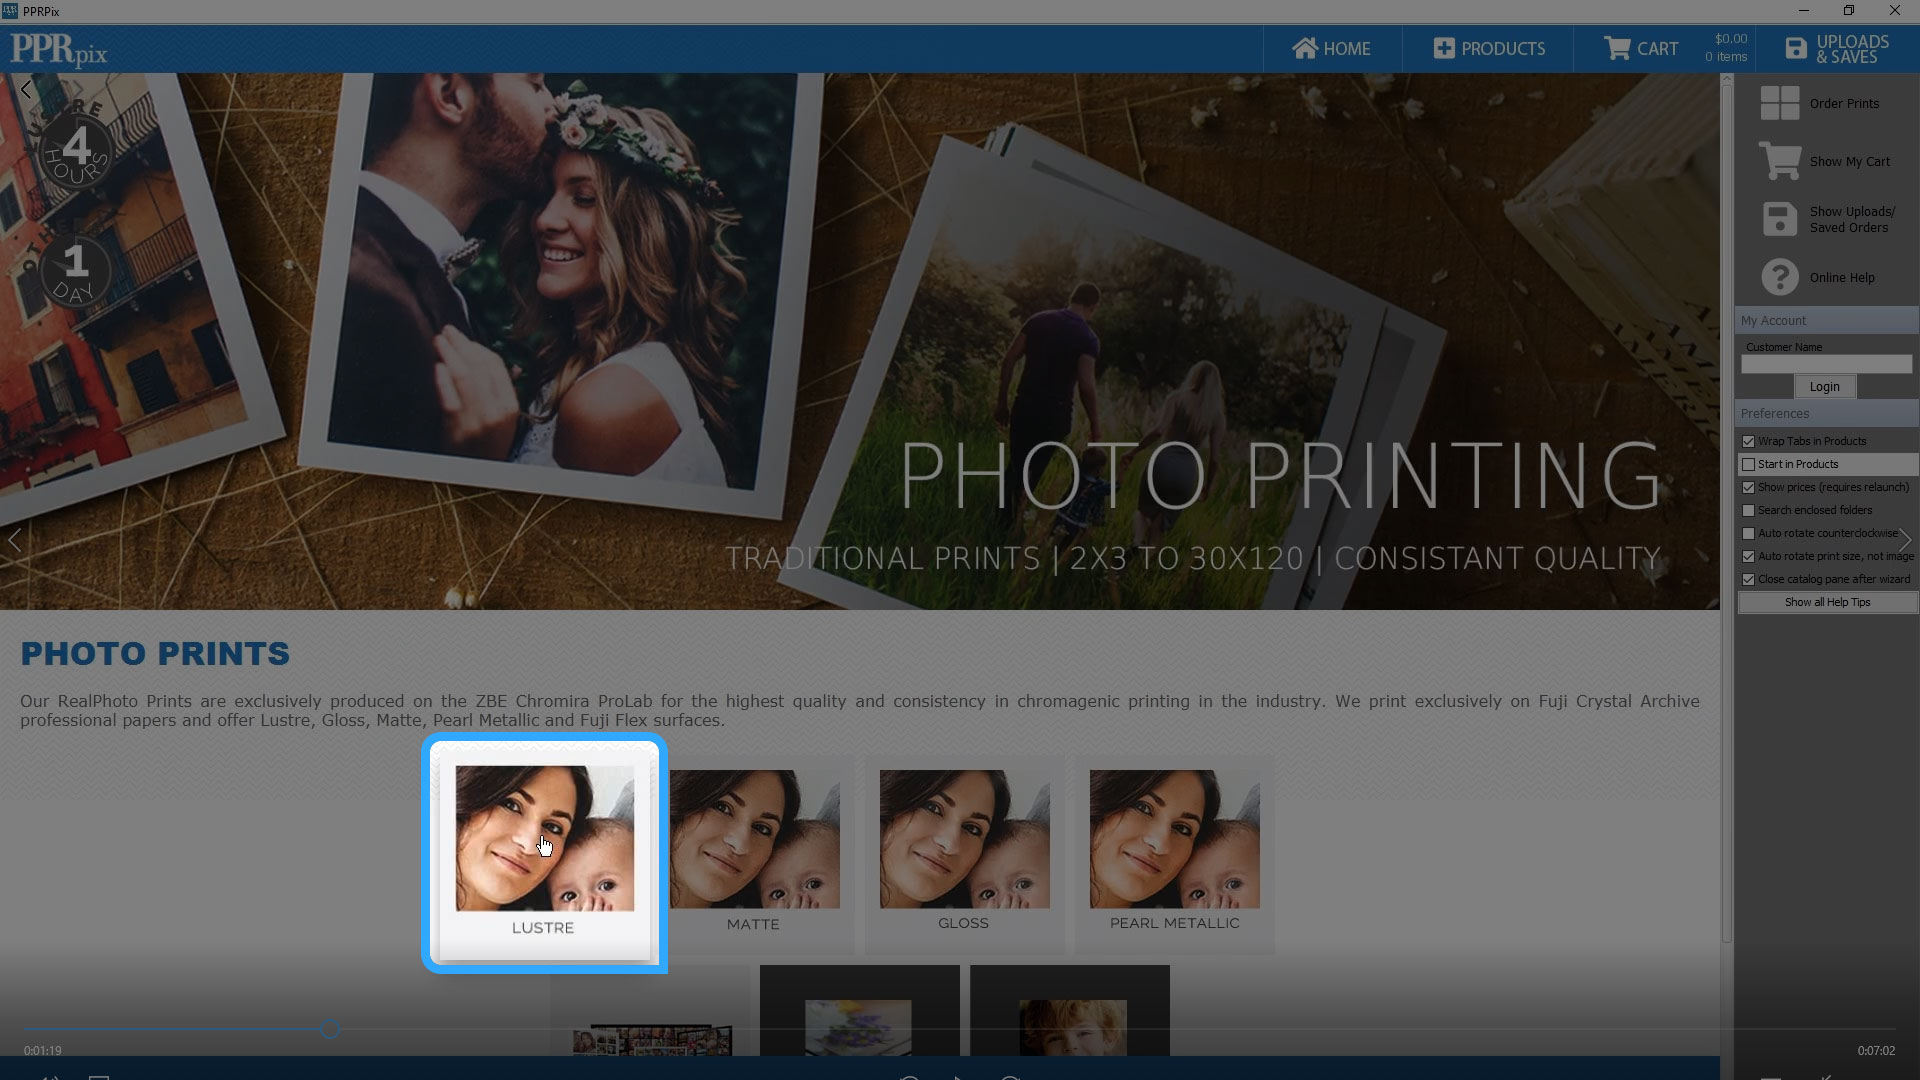
2 • Then we'll go over to the tabs at the top left and click 8x10 Mag tests.
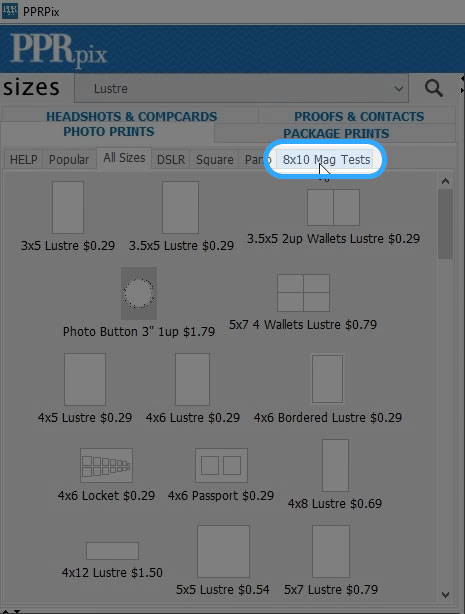
(On a Mac, you'll have to click the right arrow next to Photo Prints until you get to the 8x10 Mag test tab.) We don't have every size listed under mag tests but we do have a general step up size variance.
So say you want to test for a 36x48 but our options go from 30x40 to 40x60. We'll, that's almost right in the middle of the 2 sizes, so if you test for a 40x60 and all is good, then you have nothing to worry about. If the image doesn't look so great, then try stepping it down a size until you find the right maximum range. For now, we'll go with a 40x60 mag test.
3 • Click the Add Images button and locate the folder where your images are saved.
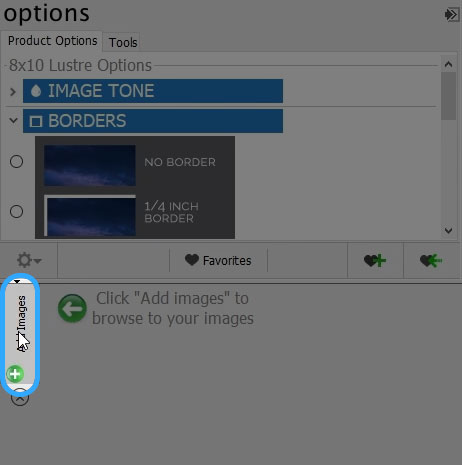
4 • Then click the size you wish to test for and drag and drop the image onto the paper. Right away you'll notice that you only see a portion of the photo. If that works for you, then you can just finish checking out.
5 • If you want to pick where the image is cropped, you'll want to click the Edit tool and you'll see a blue line with a handle on the end.
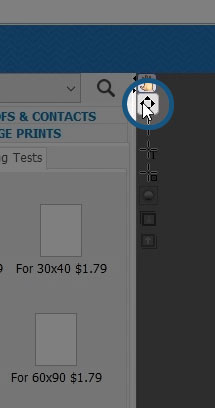
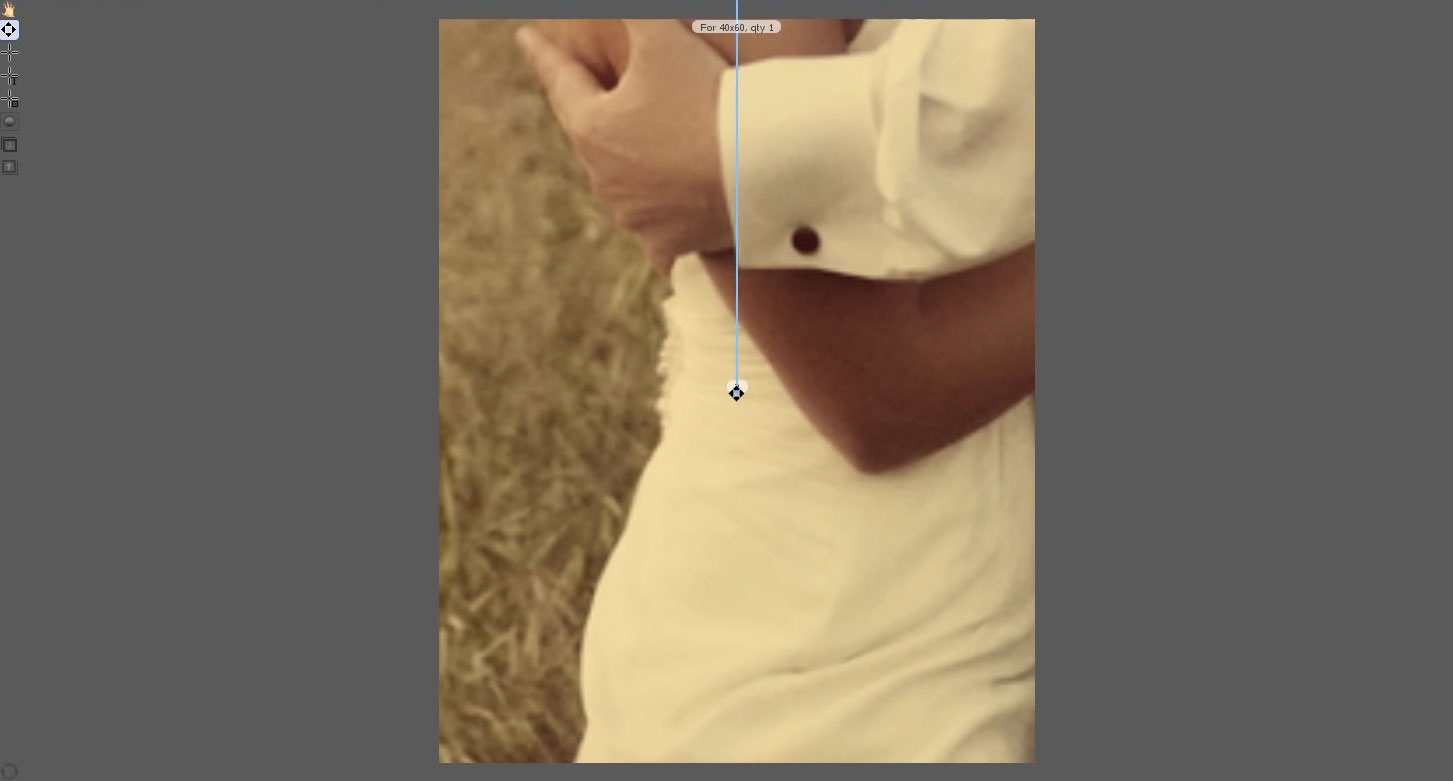
6 • When you hover over the handle, the mouse turns into a 4 arrow cursor. When that happens, click and drag the handle around on the screen to move the image.
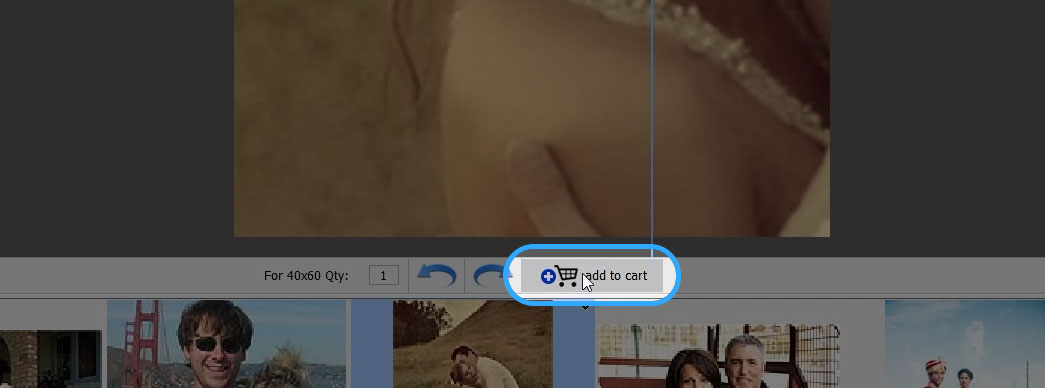
7 • Once you find a position of your liking, just add it to the cart and check out. That's it!
MAG TEST VIA PHOTOSHOP
Now for the fun part, Photoshop. I have the image already opened here and have done nothing to it so far.
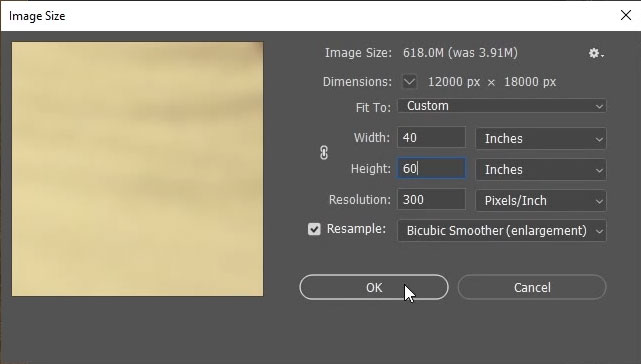
1 • First, you will size the image to the large print size you want. I'm going to size this to 40x60.
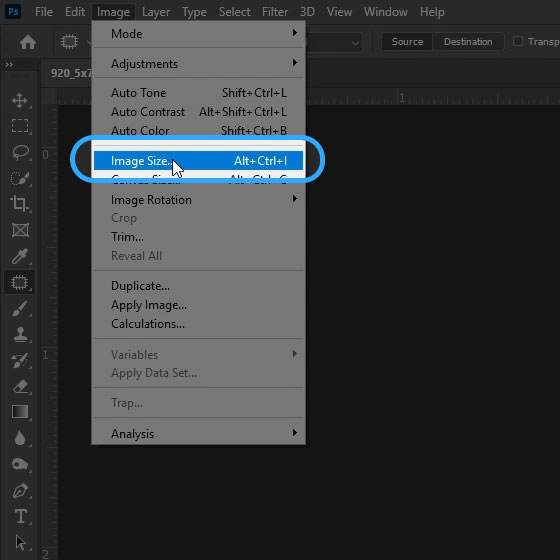
2 • Go to Image/Image Size and size the photo. Make sure the DPI is set to 300 and press okay.
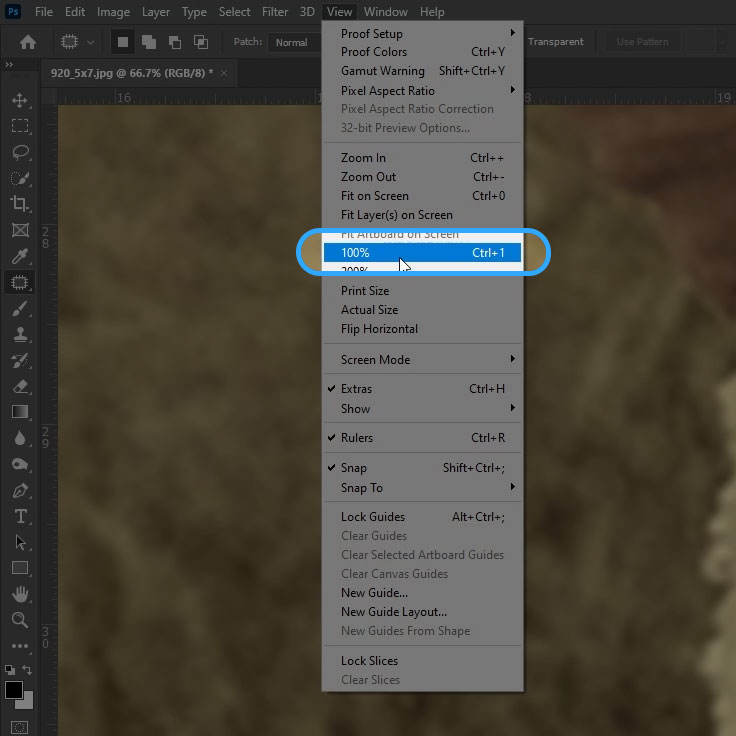
On a side note, if you want to check the resolution but you don't want to have to print the image, you can go to View/100%. This will give you a much more accurate representation of how the pixels will break up on screen.
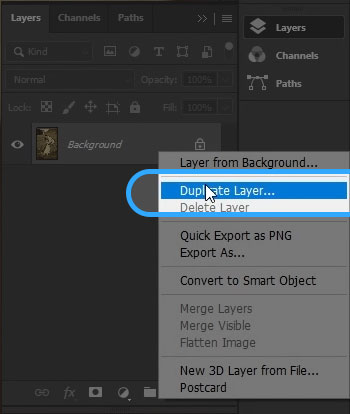
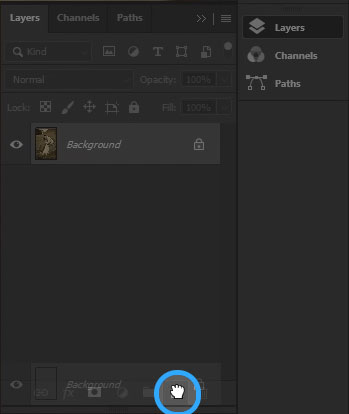
3• Next, we'll go over to layers and copy the background layer to a new layer (see image below for 2 different ways to do this). This will allow us to move the image around after we crop.
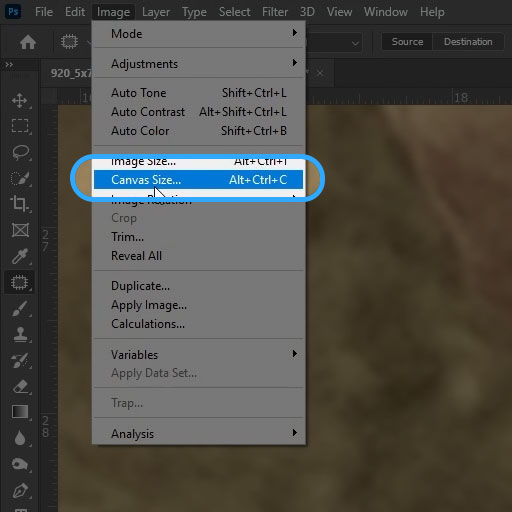
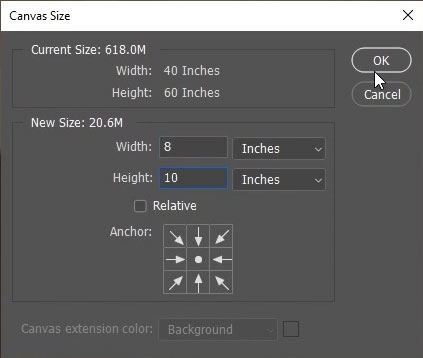
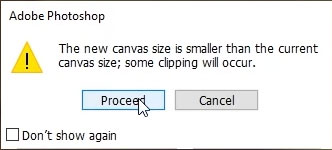
4 • Then we'll go to Image/Canvas Size and change it to 8x10. Press Okay and Proceed.
5 • Make sure move tool is selected and the new layer is selected.

Then we can move the image around to get it in the position you want.
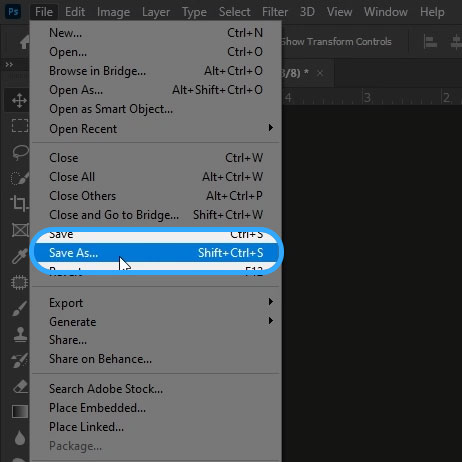
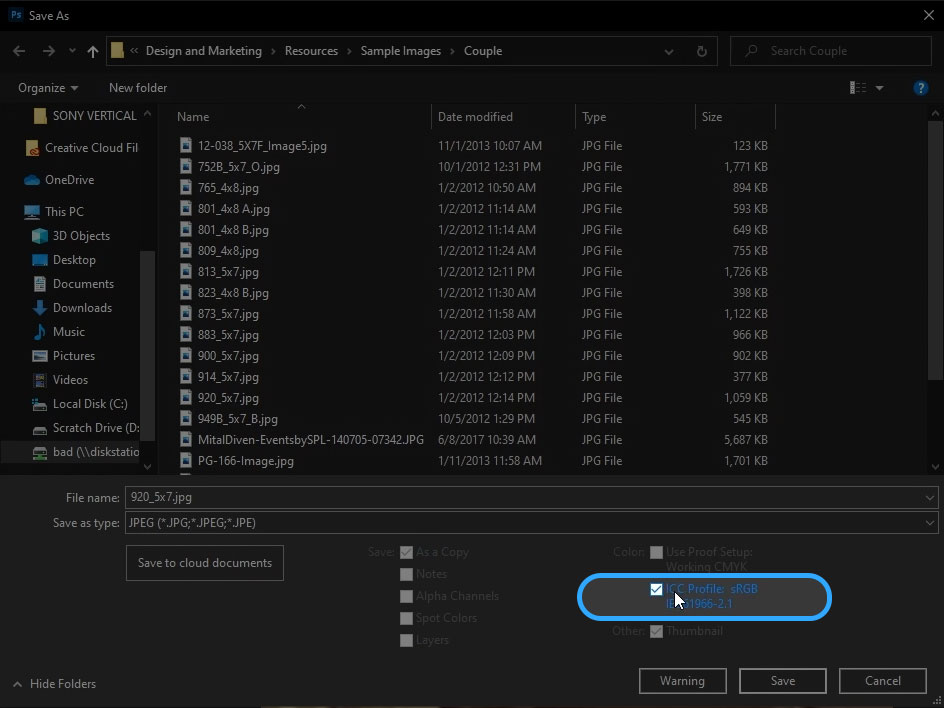
6 • Then go to FIle/Save As and name the file. Select jpeg and Make sure ICC profiles is checked.
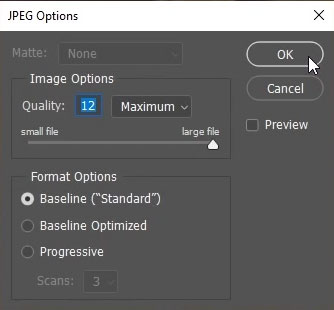
Make sure the quality scale is all the way up to 12 and Baseline ("Standard") is selected before pressing okay.
7 • Then you can order a traditional 8x10 print from any paper surface you'd like online or through our PPRpix ROES app.
