2 WAYS TO ORDER
There are 2 ways you can navigate the software. The first way is to click the Photo Prints button on the home page then pick your paper surface.

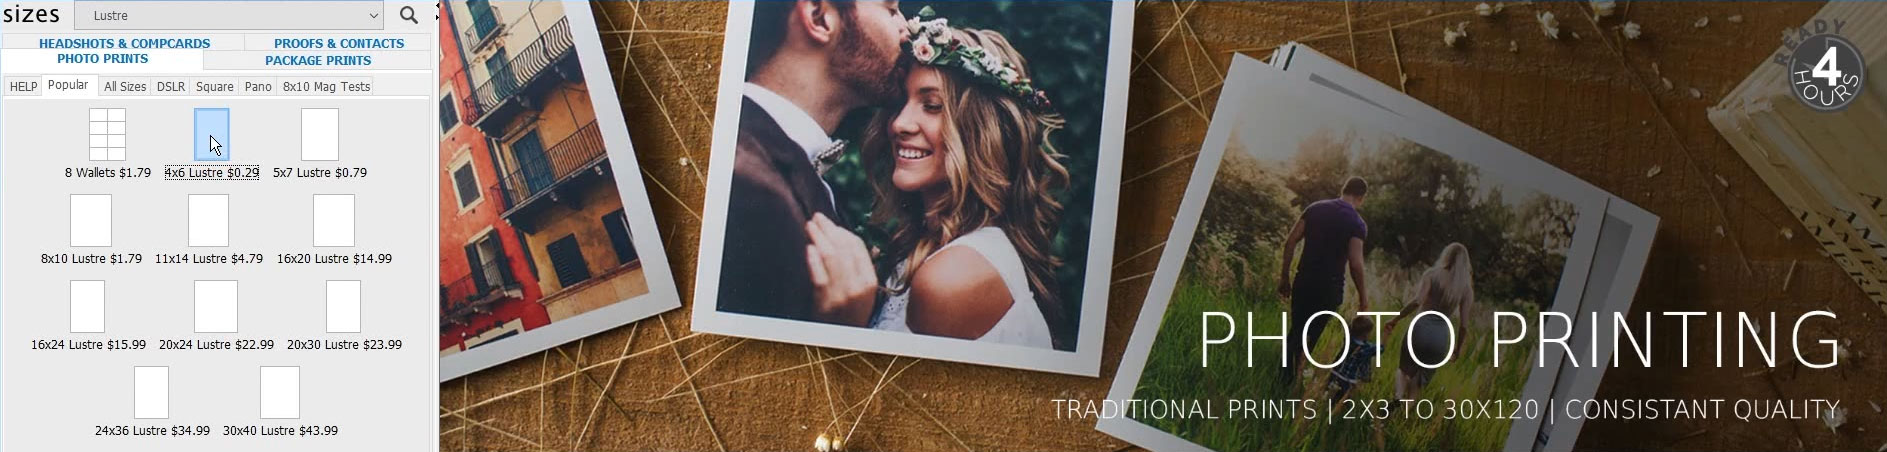
The second way is to click “Products” along the top right menu, then click “Lustre” under the sizes dropdown box (or any other surface). You are then brought to the surface info page where you can find out all the information on the paper you’ve chosen.
Then click the “All Sizes” tab if you want to search in all the available sizes, “Popular” if you want a traditional standard for frames, or any of the ratio tabs (Pano, DSLR, etc) for those sizes. For this tutorial, I’m going to choose 4x6 lustre under the “Popular” tab.
ADDING IMAGES
Next we’ll import the photos into the software. Click the “Add Images” button at the bottom left or bottom right, depending on your layout of the software. A window will pop up asking you to pick the folder that the images are located in. Choose the folder you want to import and press “Open”. Make sure the folder isn’t your desktop, but rather a folder that just contains images.
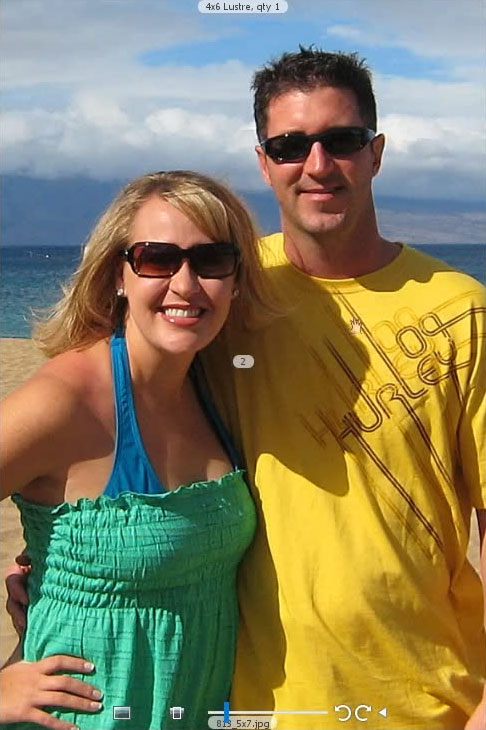
You then see all the images load into the images pane. Locate your first image you want printed at the size chosen prior, 4x6 for me. Drag and drop the image onto the blank white canvas in the middle of the screen. You then see your image larger on the canvas.

SIZING & CROPPING
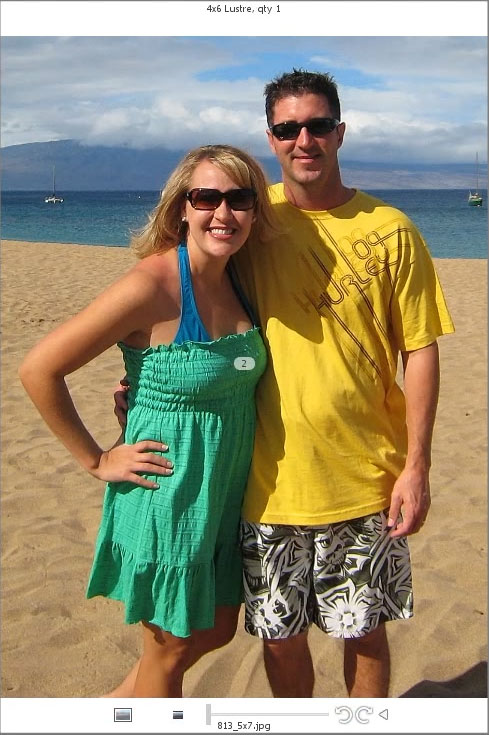
You may notice that some of the image is cropped out. If so, you can click and drag the image around on the canvas to choose where it will be cropped. While you drag the image to crop, you can see the image area outside the canvas. This is to help you see what portion of the image you will lose in cropping.
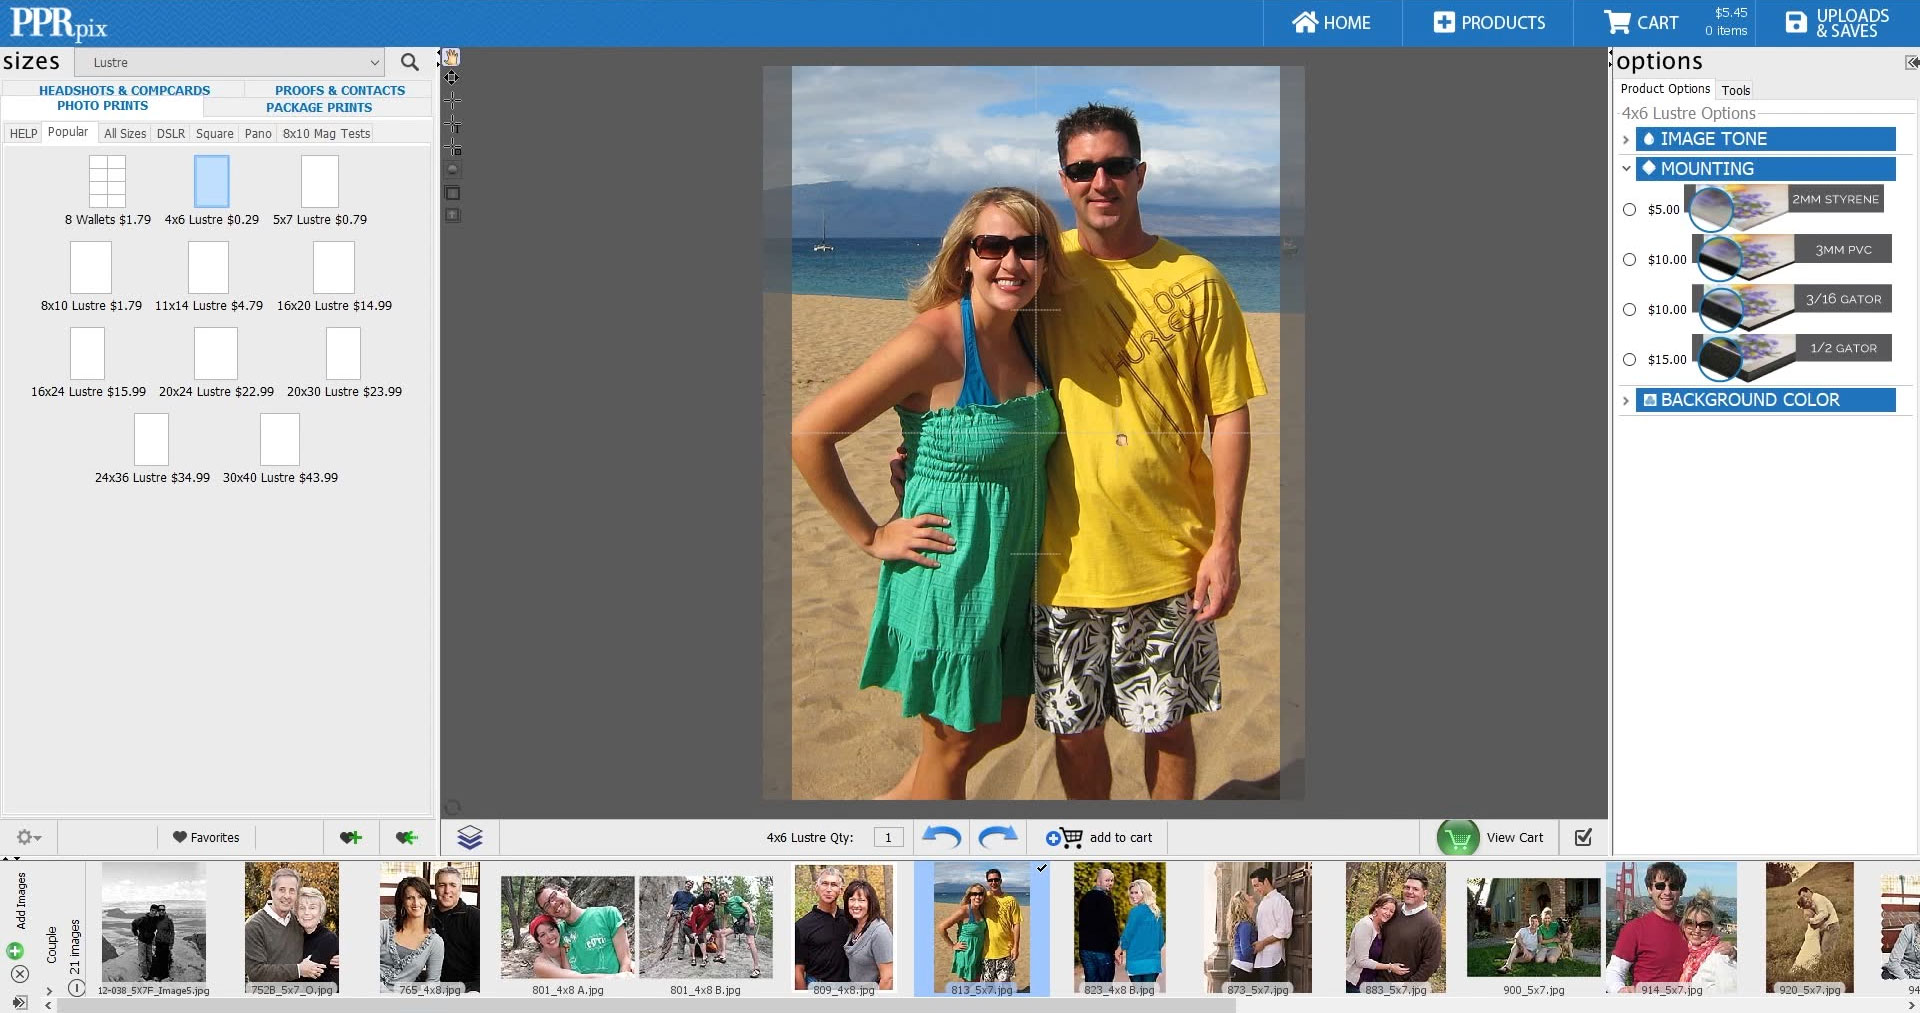
IMAGE OPTIONS
You may notice some options appear at the bottom of the canvas image that tend to disappear whenever you move your mouse away from the image. These are your lock, zoom, crop, fit, and rotate options. Click the canvas image to make them reappear. The option on the far left is to lock the cropping. When you turn the lock on, it will turn red. The button to the right of the lock, is the “Crop or Fit” toggle. This option toggles between cropping the image to fill your entire print area and fitting the full image on as much print area as possible without cropping. A majority of the time, customers want to crop the image instead of fitting. The slider next to the “Crop or Fit” option allows you to zoom in on the image when cropping. Simply drag the slider needle to the right to zoom. You can also use your mouse wheel to get more precise zooming increments. This option is not available when you have “Fit” turned on. Next to the zoom slider, you have the 2 rotate arrows to let you rotate your image on the canvas. So if you want to make a vertical image into a landscape image, you would use the rotate options to accomplish this.
PRODUCT OPTIONS
 After your print looks good and ready to order, we’ll choose some options before we order the image. Look for the product “Options” which are located at either the far right side or middle left side, depending on your layout. These options depend on the product you have selected, so what’s available and the order they are displayed may differ product to product. The product “Options” pane has “Image Tone”, “Mounting”, “Mounting Accessories”, “Background Color” options and more. “Image Tone” will allow you to change your image to sepia or black and white. The “Mounting” options allow you to have the print mounted to one of our substrates. “Mounting Accessories” lets you pick what hanging device you’d like to add to your selected mounted substrate.
Now we’ll order the image in the strip just below the canvas area. In the text box for “… Qty:”, type the number of copies you’d like and press “Add to Cart”. Repeat this process for all the images you’d like to order. When you’re all finished ordering prints, click the “View Cart” button at the far right side of the strip or press the “Cart” tab in the blue top menu.
CART SCREEN
Now you are brought to the Cart Screen. From here you can review, remove and change quantities, save your work for later, choose order options, and leave notes. First you will see each product line item with a thumbnail preview, applied options, price, quantity, total, and 2 icons. The pencil icon is for editing the item and the X icon is for deleting the item.

SAFE FOR LATER
At the bottom of the order “Options” section, you see a flashing “Check Out” button and the text “Save for later” next to it. If you’d rather check out now, then go straight to the Check Out section of this tutorial. Otherwise, if you’d like to save your work and return to it later, click the “Save for later” text and the words are replaced with a text field. Type a name for the project and press enter (PC) or return (MAC). As soon as you press enter/return, you will see a message that says “Saved!”. Then, if you navigate to the “Uploads & Saves” tab, you will see your saved order under the “Saved carts” section. Which you can reopen or delete from here.


CHECKOUT
From the cart screen, click the flashing “Check Out” button located at the bottom of the order “Options” pane on the right side of the screen. A pop up window will appear for you to enter your information. Fill everything out and choose the tax exempt options if you have a tax ID. If it’s your first time submitting tax documents with us, then you will need to bring or fax us (404-885-9706) the appropriate forms. Click “Next” to continue.
Next we have delivery options for the order. You can pick up at the store, ship to you, ship to your client, overnight to you, and overnight to your client. Choose the option you’re interested in, click “Next” and fill out the shipping information if requested.
Note: We cannot ship to a PO Box or anything outside of the continental USA.
Then we are brought to the billing information screen. Fill out the necessary fields and check the box to retain your credit card if you’d prefer not to type it in again. Our software is double encrypted and very secure for keeping your information private. To make sure there’s no delay on your order, please make sure you type your Security Code correctly. If not, the order may process and look like nothing is wrong on your end, but it will crash by the time we receive the order. Click “Next” when you’re ready and “Check Out”.
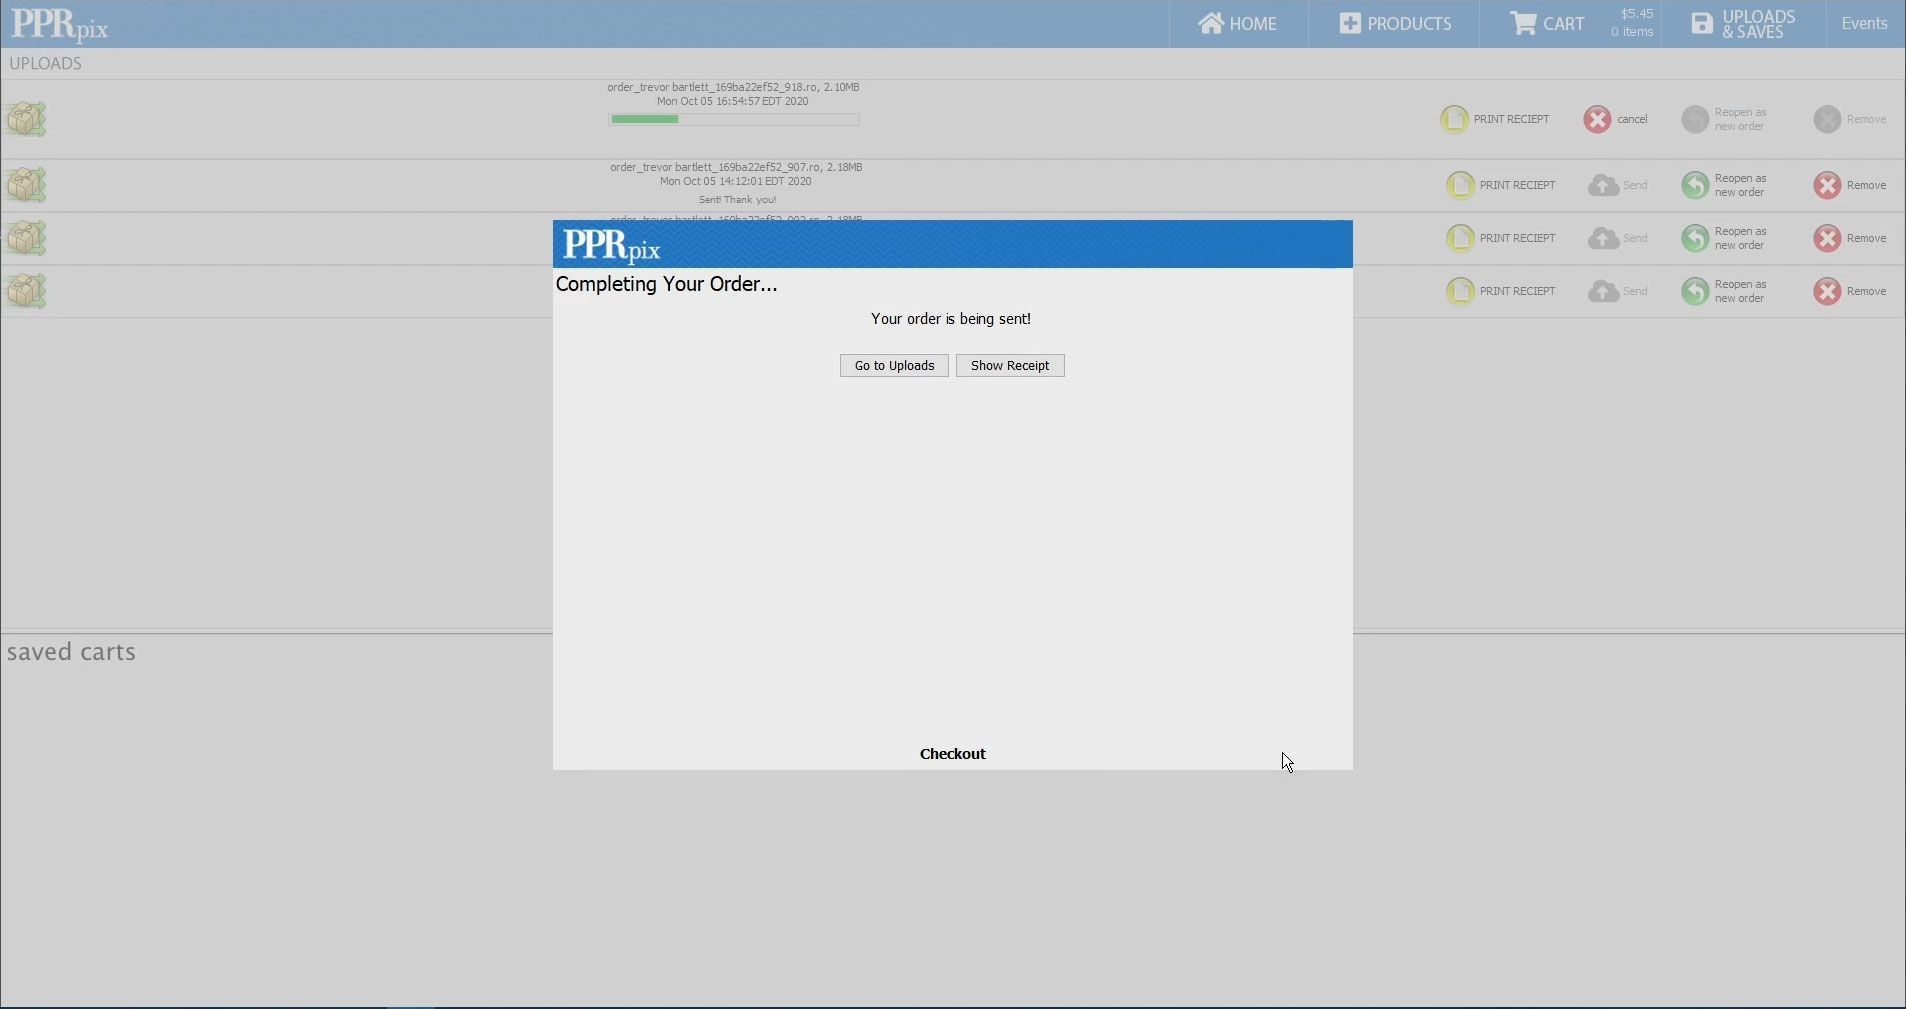
You will then see the message “Your order is being sent!” and you have 2 buttons, “Go to Uploads” and “Show Receipt”. Show receipt will give you a printer friendly version of your order summary but “Go to Uploads” will show you the progress of your order being sent. Click “Go to Uploads” and you’ll see your order at the top of the page. Your most recent upload will be at the top of the list. Underneath the date of the order, you will either see a green loading bar showing the progress of the order or you will see the words “Sent! Thank You!”. If you see the latter, then your order has already finished uploading. Feel free to exit the software. If you’d rather not worry about when it’s uploaded, you can minimize the software and let it upload in the background. Just don’t close the software before it’s finished uploading.